Redguard:The Archmage's Ring
The UESPWiki – Your source for The Elder Scrolls since 1995
< Redguard: Quests(Redirected from Redguard:Goblin Caverns)
|
Quick Walkthrough[edit]
- (Optional) Speak to Brother Nidal about Kithral.
- Enter the Goblin Caverns behind Hallin Falls near the park.
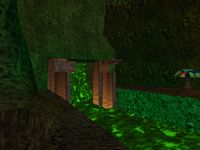
- Drop from the bridge at A onto a mushroom and bounce over to the tunnel at D.
- Continue on to H and search the body of Brother Kithral for his journal.
- Make your way to M and light a barrel in the main ship section. Use the fallen stalactites to reach the wheel at N; pull its handle.
- Travel to O via the teleporter at J.
- Drain the canal from S to retrieve a bone key on a goblin corpse. Flood the canal again, then use the key on the door across the river.
- Ride the caverns fish to U.
- Fight the ogre at V, take Voa's ring, and return to A using the teleporter.
- Give Kithral's journal to Nidal.
Detailed Walkthrough[edit]
- Brother Nidal
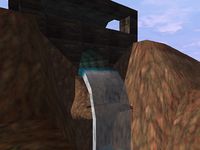
- During your conversation with Tobias, he will point you to Brother Nidal at the Temple of Arkay for more information about Iszara. Nidal will explain how his initiate, Kithral, went missing the same time as Iszara; his last known location was the city park, on the northwest side of the city. Mariah, the park's caretaker, walks around just outside the temple. She says that Kithral used to stare at the park's waterfall and write in his journal. It turns out that the waterfall hides the entrance to the island's Goblin Caverns.
- Before you head over to the caverns, you should spend all of your gold. The final reward is 300 gold and there is plenty more scattered throughout the dungeon. Note that you can only carry 500 gold at a time. You may also want to find the Talisman of Hunding for a temporary strength bonus later on.
- Point A — Wooden Bridge
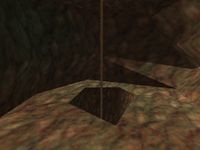
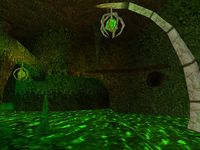
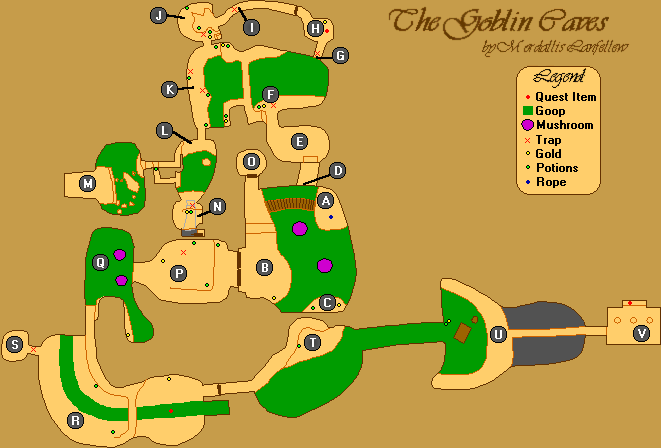
- To enter the Goblin Caverns, you must drop down from the bridge above Hallin Falls. Drop through the hole and you will enter at A, hanging from a rope. Slide down the rope and prepare to fight a goblin waiting on the other side of the bridge to B. Be careful not to fall off the bridge because the acid below will instantly kill you. The gate on the right cannot be opened until later.
- It's possible to reach D directly from the bridge and skip B and C. See the section below.
- Point B — Upper Ledge
- On the other side of the bridge, climb up the two ledges on the left. There is a large door in this area with locking bars that remains closed for now. A pouch of gold can be found near the gap between this ledge and C.
- Point C — Small Ledge
- Take a running jump over the gap to this small ledge. Scattered around are three gold pouches and three health potions. A rusty iron sign in the shape of an arrow points down toward the bridge. From here you can look down at the three mushrooms below to see where you have to go.
- Point D — Mushroom Jumping
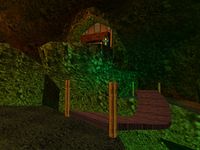
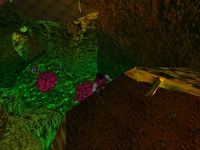
- The green lamp beyond the smaller green mushroom marks D. There are a few ways to get over there: the two most obvious ways are jumping from C and dropping from the bridge. Whichever method you choose, you should make a save before attempting these jumps. When you land on a mushroom, use the left and right movement keys to change direction.
- Jumping from C is quite difficult and you may lose 10 health if you survive, so this method is not recommended. The third mushroom is too close to land on, so when you get to the second mushroom, direct yourself toward the closest part of the lower ledge. A safer method is to return to the bridge and drop onto the third mushroom. Stand roughly in the middle where the bridge dips down lowest, and from the northern side check to make sure the mushroom is ahead of you. Simply walk forward and the mushroom will save your fall, placing you on the lower ledge.
- Point E — Connecting Room
- Two goblins, one of which is medium-level, can be found in this room.
- Point F — Bridge
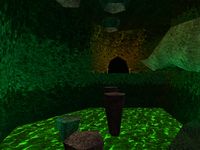
- You come across a large, open area with a lake of acid. Behind the rock on the left there is a gold pouch, health potion, and potion of ironskin, but watch out for a hidden Floor Spider trap in the center of the floor. These traps will cause 25 damage. Climb the platform heading up to the bridge and dispatch the goblin guarding the path. A medium-level goblin is further along at the end of the bridge. For some extra loot, follow the narrow path on your left to find a torch, health potion, and two gold pouches. Another health potion and gold pouch are on your left after the bridge.
- Point G — Hanging from Ledge
- On the far side of the bridge, grab onto the ledge in the wall and move sideways to the right. Be careful to avoid the six traps in the wall, as they will push you off the ledge. When you are positioned above the tunnel opening, try to drop on the left or right side because there is another trap under the opening.
- Point H — Brother Kithral
- In the next room, you find the body of Brother Kithral, along with a torch and some gold. If you have no other torches, do not use this one because you will need it later. Search Kithral's body for a journal; the last entry is read aloud in his voice. He mentions the Archmage's ring, referring to Voa who died in the Battle of Stros M'Kai with Prince A'tor.
- Knock on the door ahead of you, and you'll be presented with several dialogue options. The last topic, "Ubula", does not appear until you pick up the journal. A goblin behind the door will respond.
- Who's There?
- "Who's there? Let me through!"
- "Aaarrrlll"
- Open Up!
- "I can smell you through the door goblin, now open up!"
- "Aaarrrlll"
- Hunding Curse You!
- "Hunding curse you."
- "Aaarrrlll"
- Ubula
- "Ubula"
- "Uliiifff"
- Choose the last option and the door will open. Be ready to fight the goblin on the other side.
- Point I — Connecting Tunnel
- Stay on the sides of the tunnel past the door to avoid a trap in the middle.
- Point J — Teleporter 1
- The next room has a teleporter that lets you travel to U or O. To activate the teleporter, jump on it and stand there for a moment. You may want to visit O, either to leave the caverns or, if you have the Talisman of Hunding, to enhance your combat abilities temporarily. See that section for details.
- There is a health potion on the far left edge of this upper area. Jump over to the small platform in the southeast corner and descend to the lower area from there. Be careful not to step on the trap in the ground between the platform and small lake. Three goblins, two of them medium-level, patrol the ground floor. Once you have killed them, you can collect the potion of ironskin in the north and the health potion and gold next to the platform.
- Point K — Hallway
- The next hallway contains several small mushrooms, which explode and cause 10 damage if you get too close. You'll find two health potions and a strength potion behind the two left-hand mushrooms. Further down the hall on both sides are health potions next to floor traps. Two goblins guard the end of the hallway, and one final health potion sits here.
- Point L — Detour
- Your path is blocked by a lake of acid, which initially has a single platform rising from it. Turn right and head up the path against the west wall. The tunnel ahead is very dark and hides a floor trap, so you should take out a torch. Climb down the three ledges to M.
- Point M — Shipwreck
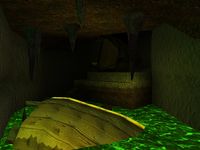
- This is a large room featuring two halves of a shipwreck. The half farther away is filled with barrels of explosives. Another explosive barrel is on your side of the room, which you can light with a torch to test the mechanic. Make your way carefully over the first two floating platforms to reach the smaller half of the ship. Choose the left-hand set of platforms and climb onto the barrel-filled ship section.
- When you light a barrel in the ship, there will be a large explosion, and you'll lose 50 health if you're too close. A good way to avoid damage is to light the barrel second-closest to the ship's edge and jump out immediately. The jump distance is far enough to be away from the explosion and close enough to not fall into the acid. The explosion causes some of the stalactites at L to fall and form a path across the lake. Take either set of platforms back to the small ship half, then back to L.
- Point L — Stalactite Path
- With the stalactites in place, you can cross the acid lake. On the west side of the ledge, there is a torch on the ground and a platform higher up with a tunnel leading to two health potions. This tunnel has a drop down to the tunnel going to M.
- Point N — Large Wheel
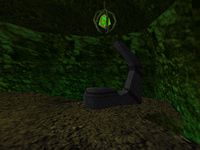
- A goblin waits for you in the next area, a very dark room with a large wheel that controls the door at B. If you have a torch, now is a good time to use one so you can see where you're jumping. Be sure to put out the torch before jumping, as you cannot grab things with it out. Jump onto the handle extending from the wheel to turn it and open the bars locking the door. This action is shown through a short cutscene.
- Drop onto the narrow ledge below, but be careful not to drop into the abyss directly below the wheel. Turn around and jump over the chasm to a small tunnel. Watch out for a trap on the ceiling in the middle of your path. At the end of the tunnel, turn around once more and climb back into the main room. Be sure to collect the health potion and gold to your left as you leave the tunnel. Return to J, the area with the teleporter, and use it to travel to O.
- Point O — Teleporter 2
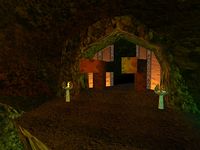
- This room has a teleporter in it that connects to J and U. Examining the crack in the wall, Cyrus will say, "I wonder what's in there." If you have the Talisman of Hunding, you can use it to open the crack. There is a secret brazier within, supported by three swords. Hold your blade in the fire to give yourself a long-lasting strength effect: 4 minutes instead of the usual 1 minute 48 seconds from a strength potion. Pull the lever beside the gate and head over to the now unlocked door at B.
- Point P — Mushroom Room
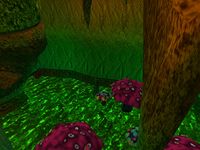
- Go through the large door and you'll see a large room with lots of mushrooms. Walk down the path on the left and avoid the exploding mushrooms scattered around. There are two health potions close to the side you enter the room, and a gold pouch at the base of the largest stalagmite. Be wary of a trap in the ground near one of the potions, and more importantly a troll. Trolls are tough monsters; you can't defend against their attacks and must torch their bodies to permanently kill them. Fortunately, there is a torch near this first troll if you used all of yours.
- Point Q — Mushroom Jumping Again
- The room at P drops off into another lake of acid, this one having mushrooms like the first area. There is no obvious path from here in sight, but a rusty iron sign points roughly southwest and downward. This is another good time to save. Take a running jump off the side of the cliff and bounce off the mushroom, turning to the south as you land. With luck, you should grab onto a ledge there. A gold pouch sits at the end of the ledge. Jump up and hang from the inner ledge above you, then move sideways to the right until you reach the tunnel heading south.
- Point R — Acid River
- The tunnel emerges onto a ledge in a large room with a river of acid. You'll have to deal with a troll that wanders around up here. Cross the narrow bridge over the river and slide down the slope. There is a troll at the bottom and many exploding mushrooms. Two health potions sit in a corner just north of the slope.
- Point S — Drain Control
- Continue north along the river until you find an opening on the left. There's a torch on the ground outside. Beware a floor trap just inside the opening. You'll encounter yet another troll here and more exploding mushrooms. Turn the wheel to close the gates and drain the river.
- Point R — Bone Key
- Descend into the drained canal and walk east to find a goblin corpse holding a bone key. There are some steps out of the canal where the two health potions were found. Return to S and reopen the gates to flood the canal. Use the open gates to get to the other side, where a troll and high-level goblin are waiting for you. Make your way to the door in the east, grabbing a strength potion, torch, and gold pouch along the way. Open the door using the bone key.
- Point T — Jaw Elevator
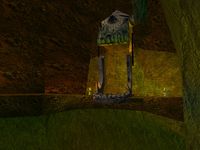
- Continue past the gate onto a ledge overlooking the acid river. The ledge curves around a large skull, which acts as an elevator to the lower level. Take a running jump over to the skull's jaw and it will automatically lower you. Two high-level goblins are prepared to give you trouble at the bottom. A health potion is found in the west corner.
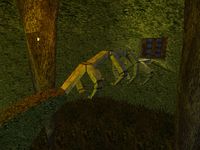
- On the river you should notice a strange, fish-like creature traveling back and forth. You must ride on its back to get to U. Jump into the open cage and hang from the side. Wait for the creature to come back and time your drop.
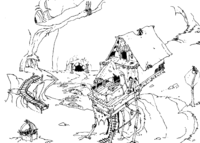
- Point U — Goblin House
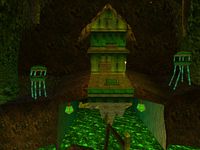
- While the creature is turning around, jump onto the roof of the house floating around. You can access the main building above you by climbing onto the yellow support beams. The house has two healing potions, a potion of ironskin, and a pouch of gold on the second floor. From the floating roof, carefully jump to the shore. Walk over the vertebrae bridge to V.
- Point V — Ogre Room
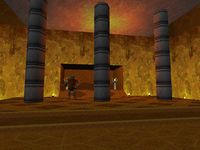
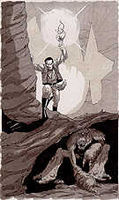
- An ogre occupies this room, the final resting place of Archmage Voa. He will only attack if you get close. To kill the ogre, you must make him hit a column with his axe. The column and the ceiling it's supporting will fall, killing him. The ceiling won't hurt you, though. The ogre carries 300 gold, but more importantly you should search the Archmage for his ring. Return to U.
- Point U — Teleporter 3
- At the end of the vertebrae bridge, go north to where the third teleporter is hanging. Turn the wheel nearby to bring the cage toward you. Open the door and use the teleporter to get back to O. You can easily leave the Goblin Caverns from here.
- Return Kithral's Journal
- You should return to Nidal at the Temple of Arkay and inform him of Kithral's fate. Give him Kithral's journal; he will thank you as well as reveal that Prince A'tor's body is being kept in stasis at the temple. He also explains that Voa's ring was used to enchant A'tor's body, therefore it can remove the stasis field. This is why Iszara and Kithral were searching for the ring. Nidal says that it will take a mage, not a priest, to use the ring.
Notes[edit]
- The cavern sinkhole northwest of the city reveals a similar shipwreck to the one at Point M, but it is not identical. You cannot enter the caverns through this hole in the ground; falling in is certain death.
- The acid is also referred to as "goop" in the game files.
- In ESO, the Dogeater Goblin Camp is the main goblin presence on the island, though it bears no resemblance to the Goblin Caverns and is in a different location.
Map[edit]
Gallery[edit]
| Prev: Starting Out | Up: Quests | Next: Raze the Palace |
